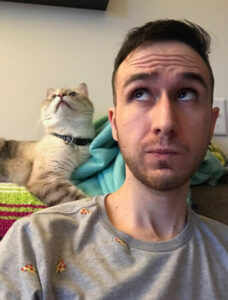
A year ago today, Zoloft was diagnosed with bladder cancer. As it was less than 10 days before Christmas, it hit me particularly hard. I knew I had to make sure it was an extra special holiday in case it was his last one.
Unfortunately, it was.
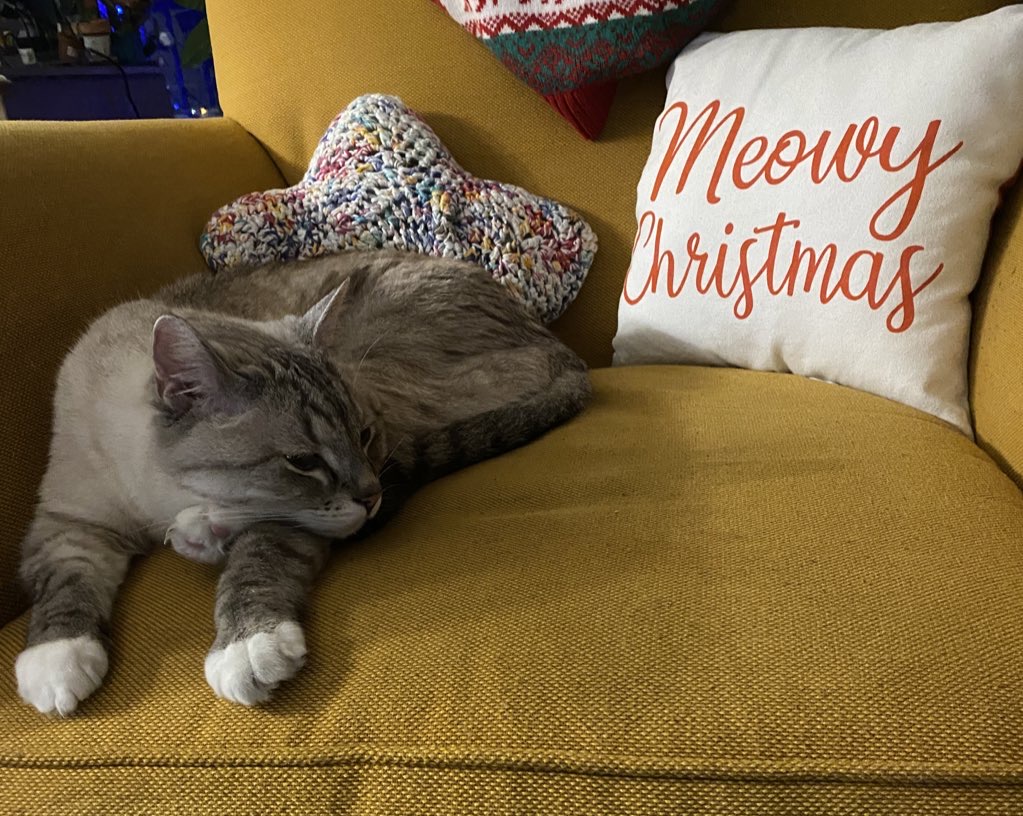
I went out and bought him so many toys, ordered him so many gifts, and just made sure he got spoiled. We spent an extraordinary day together and I’d like to think he had a very, very merry Christmas.
One thing I normally would have done but forgot because I was so focused on making sure he had a great holiday was to make some sort of memento of the day. Thankfully, I had taken a few of his paw prints and made them into Christmas ornaments in the years prior. While getting a cat paw print may seem like an impossible task, it can be a fairly simple process if you know what to do.
Making a cat paw print ornament is not the only holiday memento you can get or make of the holiday with your cat (there are some very festive custom holiday stockings, photo frames, or photo ornaments available to order), I think it’s an extra special one. Let’s talk about how to make this craft that you will treasure for a lifetime.
Gather Supplies
First, you need to gather the basic supplies you need. You can get a cat paw print in a few ways so you’ll want to decide if you want to do an ink paw print or a clay one. You can also do both!
Clay Paw Prints
You can make this easy on yourself and get a clay cat paw print kit. Some that are meant to be memorial paw prints, but they also make ones specifically for Christmas ornaments.
If you don’t go the premade kit route, you can also get the supplies yourself or use some that you have around home. For the clay, you’ll want something soft enough that your cat won’t have to press too hard into it to leave an impression. It should also be non-toxic to cats. If you have any questions about safety, ask your veterinarian before using something. Air-dry clay is going to be the easiest to work with, but there are concerns about how stable it is long term. An oven-baked clay may be the better choice, but feel free to experiment. You can always make multiple prints!
In addition to the clay, you’ll want a cookie cutter or something to cut out the shape of the ornament. You can use an appropriately sized bowl or glass. If you want to do another shape, you can find cookie cutters in the shape of a heart, cat, Christmas tree, star, or any other shape you desire. If you celebrate Hanukkah instead of Christmas, you can get a Star of David cookie cutter for your paw print! You’ll want tools to roll out the clay like a rolling pin and something to poke a hole in it for the hanger. A straw can work great. Lastly, you’ll want ribbon in the color (or cat pattern) of your choosing.
Optional supplies include tools to decorate the clay while it is still malleable, paint, and a Sharpie. A gold or silver Sharpie may be extra fun to decorate with. Letter stamps may make it easier to add their name if you don’t think your handwriting is great. You may also want to try puff paint to decorate as it gives you easy control and looks nice when finished. Lastly, have a soft cloth on hand nearby to wipe your cat’s paw after.
Ink Paw Prints
Ink-based cat paw prints give you a lot more flexibility than clay and you tend to get better detail of the print due to not needing to press as hard. You can find a kit to make a cat paw print using ink including one that comes in Christmas colors. For those that celebrate Hanukkah, there are kits that allow you to do blue paw prints. If you can’t decide on a color, you can just get a set of 16 different ones.
If you are going the DIY route, the first thing to decide is what you want to have your cat paw print ornament or keepsake on. Do you want to do it on a piece of paper (most clean touch ink pads come with impression paper) and put it into a frame, a piece of cardstock to put into a scrapbook, a page in a journal or cat memory book, or onto a slice of wood? Just make sure any paper you use is a color that contrasts with the ink you use so the cat paw print shows up.
Lastly, the ink. While you could use a non-toxic pet-safe ink pad and make sure you very thoroughly clean your cat’s paw afterward, I strongly suggest using a one-way or clean touch ink pad. It allows your cat to step on it and leave an impression while not getting ink on their paw. Most of the ink pads can be used more than once so you can get a few paw prints out of it.
Past that, optional supplies depend on how you want to display it and if you want to decorate around the paw print. These may include paint, Sharpies (with a word of caution on this one that we’ll get to in a bit), stickers, glitter, colored pencils… This is your project so you get to decide what to do.
Getting A Clay Cat Paw Print
Let’s start with instructions on getting the clay paw print. Before involving your cat, you’ll want to get your supplies for capturing the actual cat paw print: the clay, cookie cutter, rolling pin, and hole poker. If you are using letter stamps or other tools, you’ll want them nearby.
The first step is to knead the heck out of the clay. Pretend you are a cat making cute little biscuits. The claw should be as soft as you can get it so you can get a better print when your cat puts their paw on it.
Roll out the clay on a clean surface to a reasonable thickness. Somewhere between 1/4″ and 1/2″ is usually a good amount. Cut out 1 or 2 shapes depending on how much clay you have. Having 2 gives you a chance to quickly make a backup if the first one goes south or your cat steps somewhere you don’t want. As an alternative method, you can also use a bigger sheet/piece of clay and wait to cut the paw print from the clay until after they’ve stepped on it. Transfer the clay to a flat surface such as a paper plate or cutting board so you can move it after you get the print.
Encouraging Your Cat To Step On It
Now the fun part: getting your cat’s paw print! For this part, go into it with a sense of fun as you may need to do a bit of work to get your cat to actually step on the paw print. This is a fun project, not something you should be frustrated by. Even if you use air dry clay, the clay won’t start drying immediately so you have time. Worst case scenario? You try again later. No big deal.
Set the clay on the ground in a place where your cat can easily walk over it. Some cats will come up and sniff it or be curious about the clay. Keep a close eye that they don’t try to eat it and if they do, you may want to contact the Pet Poison Helpline or an emergency veterinarian for guidance on what to do next.
If you have a very tolerant cat, you might be able to gently press their paw into the clay. This may not result in a great paw print as you don’t want to hurt your cat or get bitten, but it can still get one. You can also clicker train your cat to target the clay with their paw by training them to either press somewhere with their paw by pointing or using a post-it note or small piece of fabric. The post-it note may distort the imprint so you may want to quickly remove it or cut it into a very small piece before going live with the clay.
If neither of those is the route you want to go, you can try leading them to walk over the clay. I prefer this method as your cat will likely put a bit more pressure on the clay and you’ll get a better print.
You can use a Churu or other treat to guide them over the clay. This may require repeated attempts and that’s okay. Have fun with it! Alternatively, get a favorite toy out and do a play session, trying to get them to step on the clay as they play. You may get some interesting or off-center results and that’s okay. If you use the clay sheet method described above, this can produce some interesting results and you may get a few ornaments. Wipe your cat’s paws after they run across the clay.
If you are using letters or decorating the clay itself, now is the time to do so. If not, poke a hole (or two depending on how you want to string the ribbon through the ornament) in the top and let the ornament dry or bake per the instructions that come with the clay. Alternatively, if you don’t want to hang it as an ornament, I have these paw print stands that I use to display Zoloft’s paw prints that were taken after he passed.
Getting An Ink Cat Paw Print
The process to get the ink-based cat paw print is basically the same as above with some minor differences. You don’t need to do much preparation other than get the ink pad ready by removing the backing (or following the instructions that come with the ink pad if they say to do something else) on how to set it up and preparing the medium that will have the paw print on it.
Place the ink pad on the medium where you’d be with a paw print ending up. Remember that anywhere the ink pad overlaps the paper can end up with a cute little paw print on it. If your cat steps there, that’s where the paw print is.
As the ink pad is flat, your cat may be more inclined to step on it than they would with the clay. Use a bit more caution with trying the play method if you’re going with an ink pad as your cat may be more likely to flip it over or knock it off the ornament. You’re probably better off using another method or you can use painter’s tape to secure the ink pad and easily remove it after you’ve taken a paw print. You may have an easier time doing the post-it note method of clicker training a targeting behavior with this method so you have another great option.
After getting your cat paw print, the ink needs to dry. Usually, a day or two of drying time will be enough.
Decorating The Paw Prints
Once the paw prints have dried or baked (and cooled down), you can get artsy as heck. You can also keep it basic. Honestly, it’s your call. Add stickers, bedazzle your cat’s paw print, write their name on it… or don’t. Either way is cool.
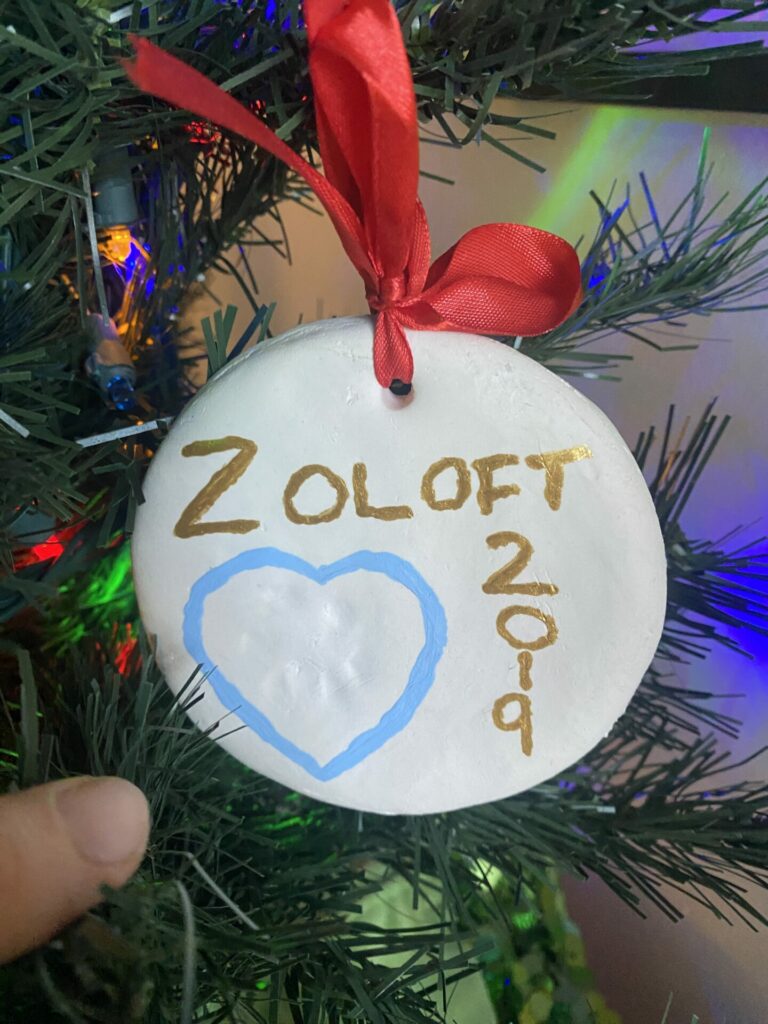
One suggestion, regardless of how much creativity you feel like putting into it, is to write the year somewhere. I added the year to both of the paw print ornaments I made with Zoloft on the front. If you’d rather, you can write them on the back so it’s documented somewhere but not the main focus.
A Word Of Caution As You Decorate
One quick thing to consider as you decorate your cat paw print ornament. When I made the ornament using a slice of wood, I used the permanent marker that came with the kit to write Zoloft’s name and the year on the front. It looked fine at first, but when I pulled it out the next year, the marker had bled a bit.
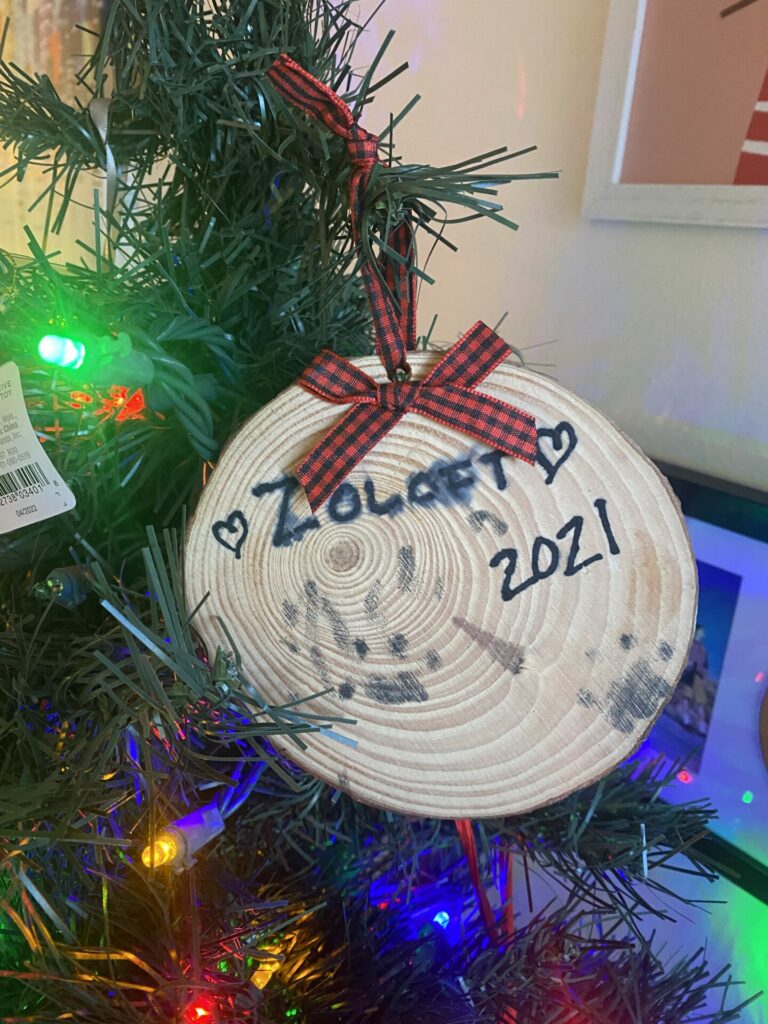
To me, I don’t care that much as it’s the paw prints that I care about and the kit was otherwise good. Thankfully, I wrote the words far enough away that it’s unlikely that it would bleed into the prints. If you do a wood slice, you may want to not use the marker that comes with the kit or a marker at all. At a minimum, keep all writing away from the prints.
If you use another medium for ink or do a clay cat paw print, you may want to keep the materials you use away from the paw prints themselves unless you’ve specifically tested them on that same material before. I’d also suggest testing and storing them for a few months rather than seeing how they do overnight. The bleeding on my ornament occurred while it was in storage so it took time.
Regardless, I still love the ornament and seeing Z’s paw prints on my Christmas tree. I also love that he delicately touched the ink pad in two places as you can see just below the Z. It was a fun day and I’ll cherish this project for the rest of my days.
Display Your Cat’s Paw Print
Once your decorations, especially if you’re using paints, have dried, you can do the final step which is to prep the paw print for display. For the clay prints, insert the ribbon into the hole you made and tie it. You can tie a fancy bow or a simple knot. You can also just set it on a display stand if you don’t want to hang it on the Christmas tree.
If you did an ink print, you may need to insert the print into a photo display ornament or put it in a photo frame to set out for all to see. If it’s something you intend to use for another project, you may not need to display it. It’s totally up to you as it’s your cat’s paw print and your special treasure.
Preserving Your Cat’s Paw Print
While I focused this guide on making a Christmas ornament from a cat paw print, this guide applies to any holiday or any time of year. If you don’t celebrate Christmas, you can make a heart-shaped print for Valentine’s Day or just because. Getting a cat paw print that can stay with you after your cat’s toe beans are no longer pitter-pattering across the floor will be a source of comfort in those moments when you miss them the most.
I guess I can’t really speak for how I’ll feel long term as this will be the first year I don’t have Zoloft with me at the holidays, but I know that pulling the ornaments I made out of storage gave me all sorts of very strong feelings. Mostly, I was grateful to my past self and Zoloft for creating a lasting keepsake to remember the warm snugs on chilly December nights we had. While I would rather he were still here, I’m looking forward to being reminded of those special times every year when I pull out his paw prints. I hope the one you make with your cats does the same for you!